
April is National Letter Writing Month. What better way to prepare to send many cards and letters than setting up a letter writing kit. Snail mail exudes happiness in all stages, from selecting the card to writing the letter, even to addressing the envelope and receiving the card.
If you want to send more snail mail, you will need to do some planning. Planning is the foundation for achieving (or not achieving) the results you desire. I suggest, first, you put together a letter writing kit. This could be in a zippered pouch, a spot on your desk, or in the glove compartment of your car (for all you busy parents driving your kids to and from activities).
After you’ve decided where you will place your letter writing kit, set aside a time every week you will send a piece of snail mail. Go ahead and set a reminder in your phone. I like to send snail mail on Wednesday (Writing Wednesday). If you have the most time to yourself in the mornings, schedule letter writing for the morning. Or maybe lunch time would work better. Or maybe 6:30 on Tuesdays as you wait for your child to get out of basketball practice. Whatever the time, schedule that in your phone so you’ll have a reminder.
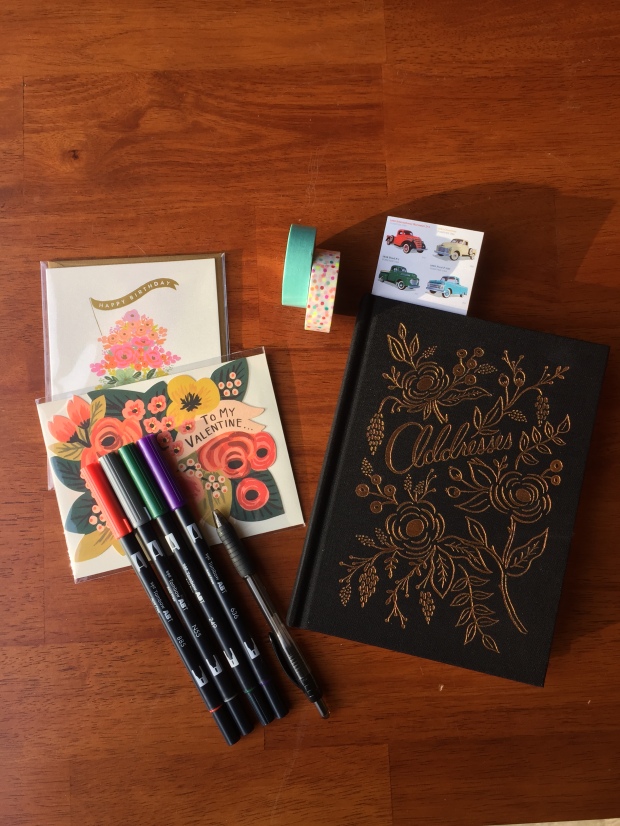
Now, assemble your letter writing kit. Here are some suggestions on items to place inside your kit.
- Cards of various themes (birthday, hello, anniversary, thank you, everyday)
- A black pen
- Markers (I love dual brush pens from Tombow)
- Stamps
- List of 5-7 addresses you will most frequently send mail
- Envelope Art supplies, optional (washi tape, paints, colored pencils, recycled images)
Take time to assemble your letter writing kit and then you’ll be set to send more snail mail! If you’re needing supplies, check out our online store The Letter Box.
Here’s to sending more snail mail!
-Jill